Setting up a Bitrise CI Pipeline for Android

Bitrise is a Continuous Integration and Delivery (CI/CD) Platform as a Service (PaaS) with the main focus on mobile app development (iOS, Android, React Native, Flutter, and so on). It is a collection of tools and services to help you with the development and automation of your software projects.
I will explain a few concepts in Bitrise Continuous integration that will help give you a basic understanding of how to set up a Bitrise Pipeline for Android development.
BUILD
A build is a series of jobs, specified by the app’s Workflow which is a collection of Steps.
In addition, CI typically use a build server to implement continuous processes of applying quality control (is a process by which entities review the quality of all factors involved in the production.)
WORKFLOW
A Bitrise Workflow is a collection of Steps. When a build of an app is running, the Steps will be executed in the order that is defined in the Workflow.
Steps are a build task and they contain the code that performs the build task.
Job is a collection of steps.
CODE SIGNING
Code signing is the process of digitally signing your app, as a means of guaranteeing that the code has not been altered since signing. It provides security for deployment and identifies the author.
To deploy mobile apps to an online store, such as Google Play or the App Store, code signing is absolutely crucial. On Bitrise
SECRETS
Secrets hold information like keys, API key, etc, it's important to know that your secrets are not shown in the bitrise.yml Your secrets are stored encrypted
ENVIRONMENT VARIABLES
Environment Variables (Env Vars) consist of a key and a value, as well as optional attributes. They can be defined on the level of apps, Workflows, or Steps.
TRIGGER
Trigger prompts the Build action
you can trigger for build only when you “PUSH” to your Repo or “PULL REQUEST” or you decide to trigger a build for both.
STACKS
The Stack indicates the virtual machine version that we will use to run your build. After adding your application to Bitrise we will select an appropriate Stack for it.
BITRISE.YML FILE
Bitrise yml file contains the Bitrise build configuration and also you can decide to save the yml on Bitrise.io or save it in your repository
Getting Started
Setting up a CI Pipeline requires lots of writing in the YAML file, editing, and deleting before you might get it right.
You will see how Bitrise will make it super easy to set up an Android CI Pipeline in less than 5mins(highly depends on your service provider)
I will assume you have registered with Bitrise
goto Bitrise Dashboard

Click on the “Add New App” button to create a new Bitrise App
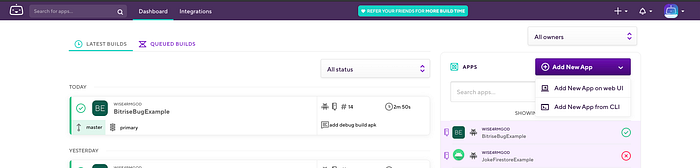
In this section, you have two options to either create your app online or use CLI, in this tutorial you will work with the Web UI, so click “Add New App on web UI” it will open the image below.
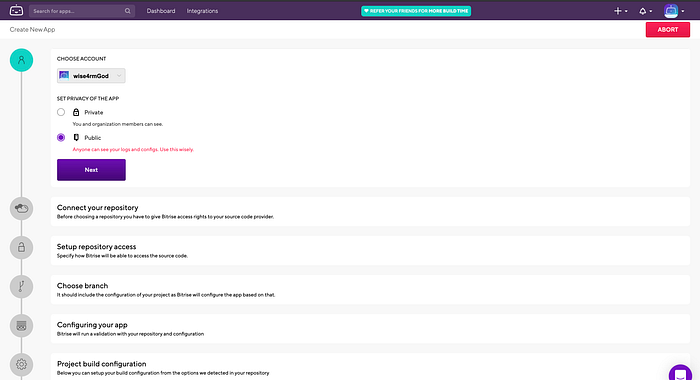
In this section, Bitrise automatically picks your default account for you but you can select another account if you have. another point to note is the ability to make your app public or private. then click the “Next” button it will open the image below.
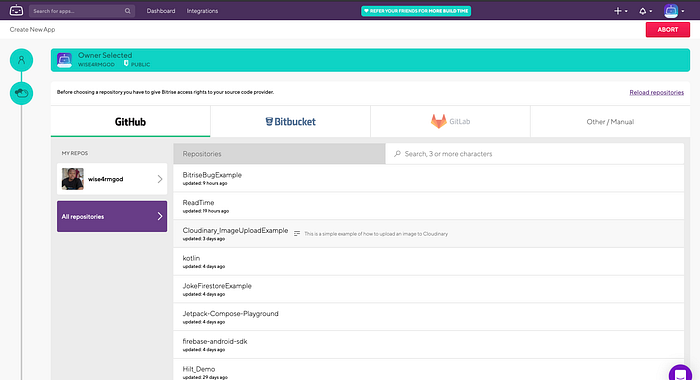
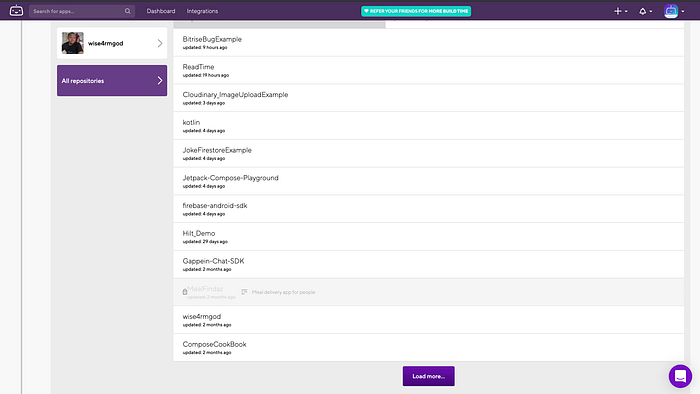
Select the repo from the list of repos in your Github, Bitbucket or Gitlab
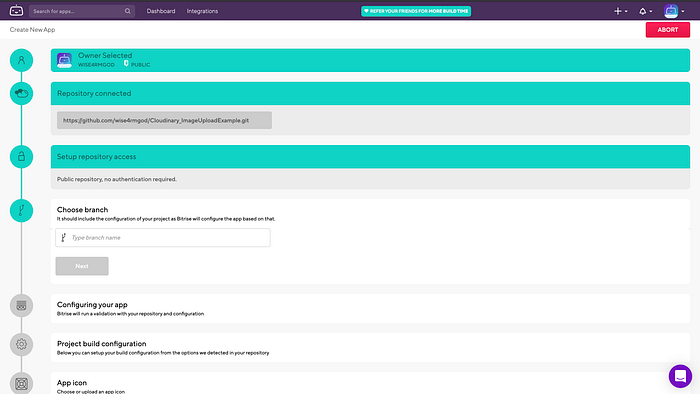
Bitrise will connect your repo and setup access, the next step is adding a default branch for the building after that click “Next”

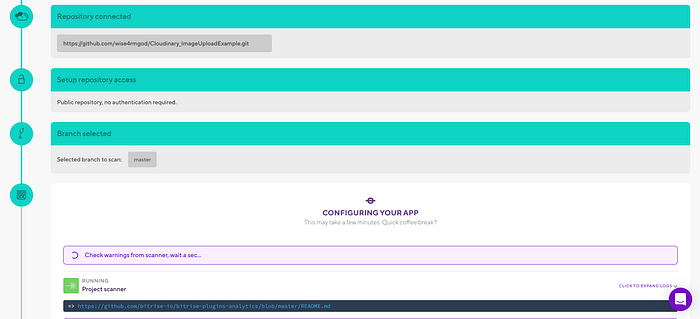
Bitrise will configure your App and automatically detect if your project is an Android project, default module.
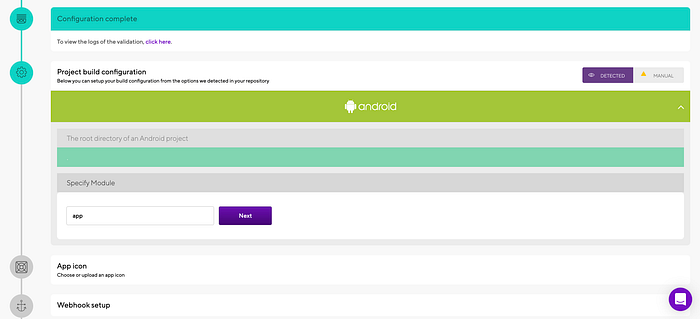
Click the “Next” button
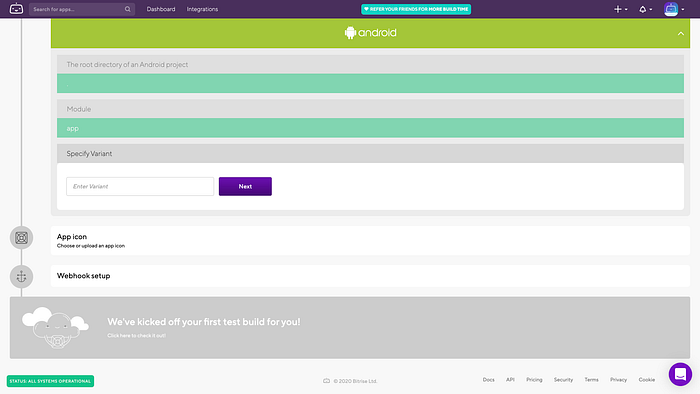
Here you have to specify the variant Bitrise will build with.
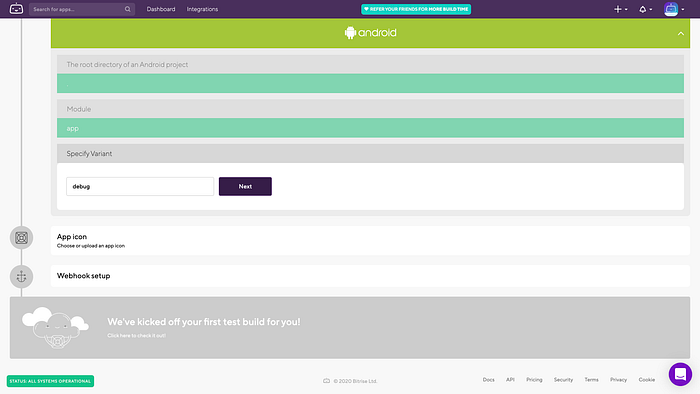
After adding your variant in my case, I added it to always build with my debug variant and not release. Click the “Next” button it will open the image below
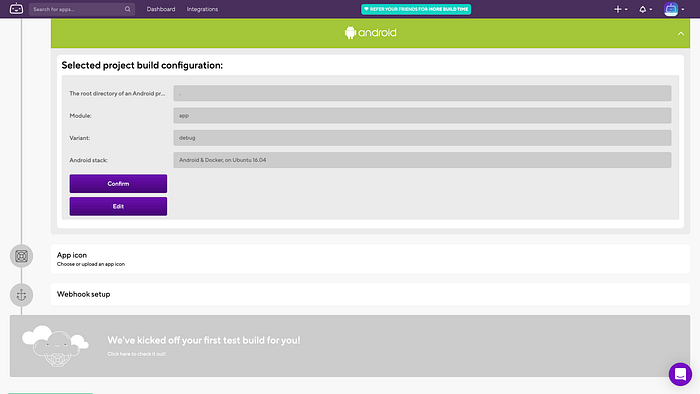
Confirm that all the information are okay and accurate then click on the “Confirm” button, it will open the image below

Select an App icon for your Bitrise app, you can select the default Android app icon or add your own but if you are not ready you can Skip for Now by click the button.
What is a Webhook?
To have Bitrise automatically start a build every time you push code into your repository you can set up a webhook at your code hosting service which will automatically trigger a build on Bitrise with the code you push to your repository.
We can automatically register a Webhook for you if you have administrator rights for this repository.

Click on the “Register a Webhook for me” and you will see the image below
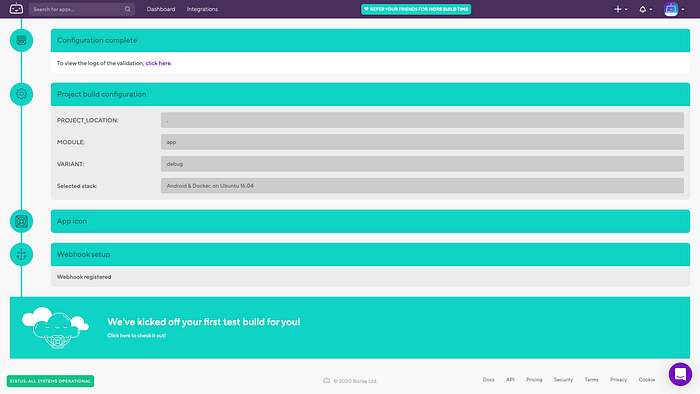
With this image, you have successfully set up your Bitrise CI pipeline for Android.


Bitrise will automatically run your first build for you.
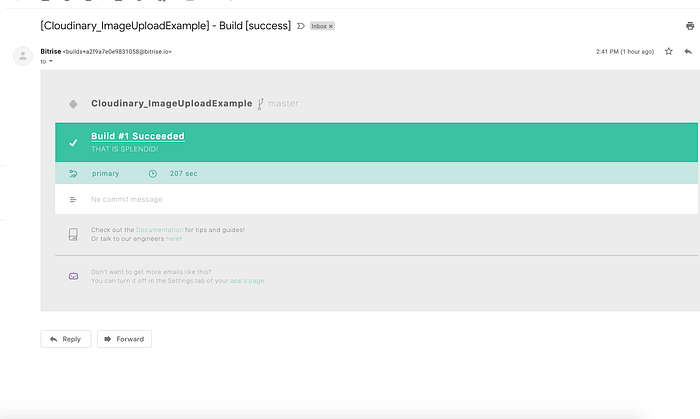
Bitrise will send you a mail whenever you have a successful/failed build, as a means of notifying the developer/ Team Lead.
Thanks for reading my article, drop all questions or feedback in the comment section.
Let’s connect on
Twitter: https://twitter.com/Joklinztech
LinkedIn: https://www.linkedin.com/in/wisdom-nwokocha-76212a77/

