Implementation of sharing Android apps using Firebase App Distribution + Bitrise easily
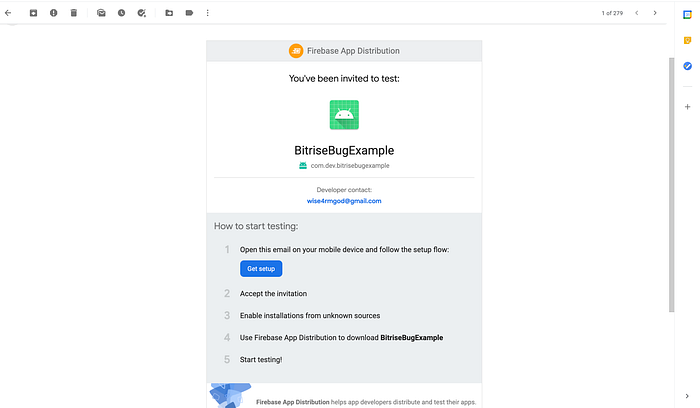
Firebase App distribution makes it easy to share android apps easily and securely to testers, but many people will ask the question” how will I automate the process of building the APK and automatically the app will be sent to the testers email address, without going to firebase to upload the APK manually? that is where Bitrise comes to play.
I will not explain how to set up Firebase App Distribution in this tutorial, you can check it out here
Bitrise automates the process for the developer using the Firebase App Distribution Step, which has fields where you can create a Test Group, Release Note, Release Note File, Testers, etc.
In this tutorial, I will show you the simple steps to integrate Firebase App distribution in Bitrise and how to share your APK easily with the testers through their email addresses from the Bitrise platform.
I will assume you know the basics of how to set up a Bitrise Android pipeline
if you don't, visit this link here
What is Firebase App Distribution Step
Firebase App Distribution step in Bitrise lets you upload app binaries to Firebase, attach release notes and specify testers you’d like to notify through email.
Set up Bitrise Pipeline for Android development
Setting up Bitrise pipeline for Android is very easy and simple to do, I have already written about that in another tutorial just check this link then proceed to the next step
Add Firebase App Distribution Step
To add it, goto dashboard -> Click on the App

It will open the image below, then you Click on “Workflow”

What is Bitrise Workflow?
A Bitrise Workflow is a collection of Steps. When a build of an app is running, the Steps will be executed in the order that is defined in the Workflow.

the “Git Clone Repository”, “Android Lint”, “Android build” are all Bitrise steps.
What is a Bitrise Step?
A Step is a build task: for example, the Git Clone Step clones your Git repository at the start of a build, A Step contains the code that performs the build task.
Now to add a new Step, you will click on the plus sign in the Workflow

When you click the plus sign you will see many Steps to choose from, but in this tutorial, you need to select a Firebase App Distribution Step.
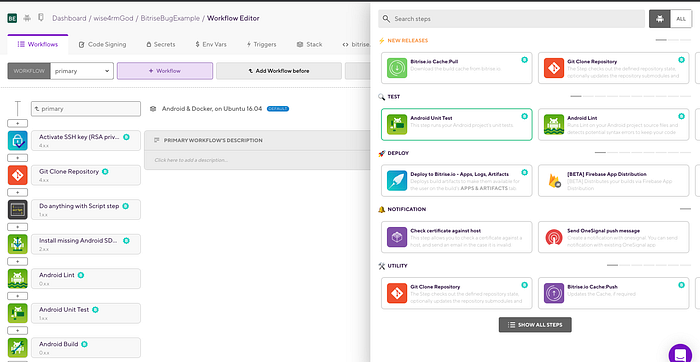
You can see it's still in the BETA stage of development, so select the Firebase App Distributions.
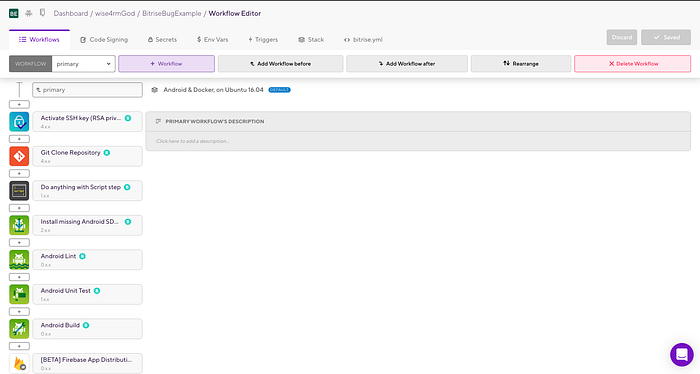
The WorkFlow we have is looking good, but in this tutorial, we don't need some steps, let's remove the “ Do anything with Script step” and maintain the order of the step.
Note: these steps need to be before “Firebase App Distribution” please follow the order below.
1: Install missing Android SDK
2: Android Lint
3: Android Build
4: Firebase App Distribution
Click on the “Firebase App Distribution” step to configure it
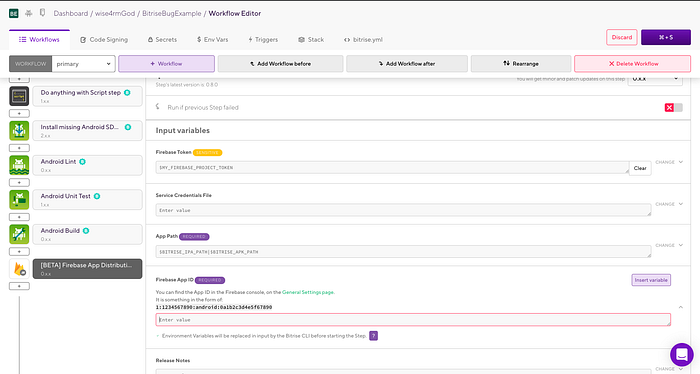
There are three important things here
1: Firebase Token
2: App Path
3: Firebase App ID
1: Firebase Token
Install the Firebase CLI if you haven’t got it on your machine already.
// auto install script for Mac OS or Linux users> curl -sL firebase.tools | bashTo Use the CLI with CI systems login into the Firebase and get a token.
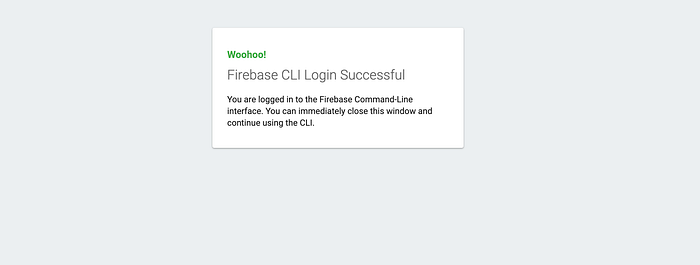
> firebase login:ciOnce the authentication process is completed, your token is printed out on the terminal. (Example token: 1/a1gqPSI3ryNcsDiZnCaHnY-hg9u9nJeosz3iNPe-S-RLdmqdypiJMOjoeOhOGsWK)
you will be taken to the Firebase dashboard to login with your preferred email address. then the below image shows you are good to go.
For more info on the Firebase CLI
Now, Click on the Firebase token the image below will appear
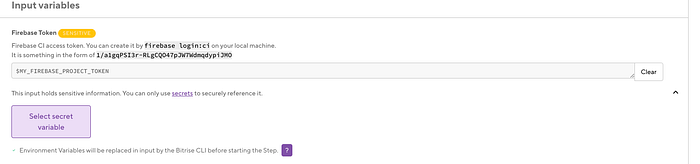
Click on “ Select secret variable”
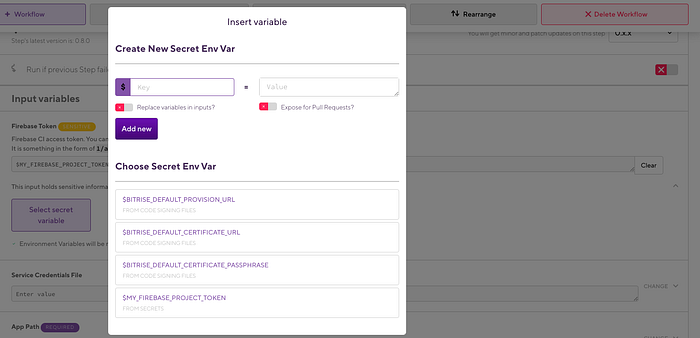
Add the token you got from your terminal in the “value” and give it a name in the “key” after that just click on “Add new”

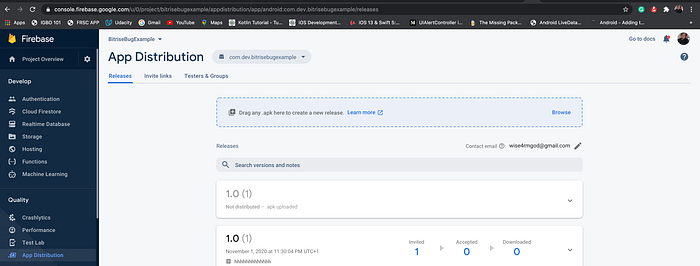
Another thing to note is that you can add a “Release note to your testers”, “include a Test Group” that is configured on the Firebase App Distributions dashboard, “ and also add “Testers” all in the Bitrise Platform without going to the Firebase Dashboard.
2: App Path
For this section, the system has automatically picked a preferred APK location so just leave it untouched.
3: Firebase App ID
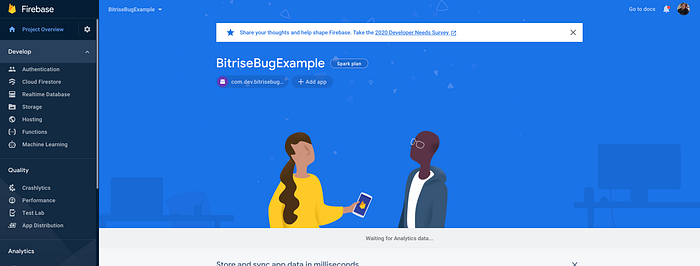
Log in to your Firebase console, select your project, and navigate to Project Settings.
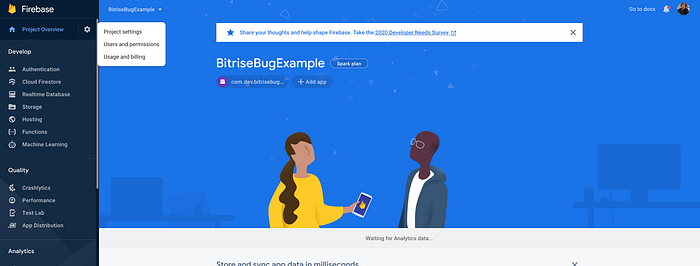
When the screen opens you can find your App Id under the General tab. (Example App ID: 1:1234567890:android:0a1b4c3d0e5f68895)
The next step is to select the App Distribution tab and hit the Get started button.
if you push your code to Github, Bitbucket, Gitlab, Bitrise will automatically run a build on your repo and send the app to your tester for testing.
Congratulation on automating your app testing process.
Let’s connect on
Twitter: https://twitter.com/Joklinztech
LinkedIn: https://www.linkedin.com/in/wisdom-nwokocha-76212a77/